
Find your way around the dashboard
A guided map of the web dashboard for new owners and admins. What each sidebar page and its tabs do, and where to go for common tasks.
You just logged in to NestliCare for the first time and you're looking at a dashboard with a lot going on. This page is your map. Ten minutes here and you'll know where everything lives.
Want to see how it all fits together across a real day, from morning check-in to closing up? Watch this:
The dashboard, at a glance
The dashboard is your daycare's morning briefing. It answers three questions the moment you log in: is anything wrong, who is here, and what happened recently.
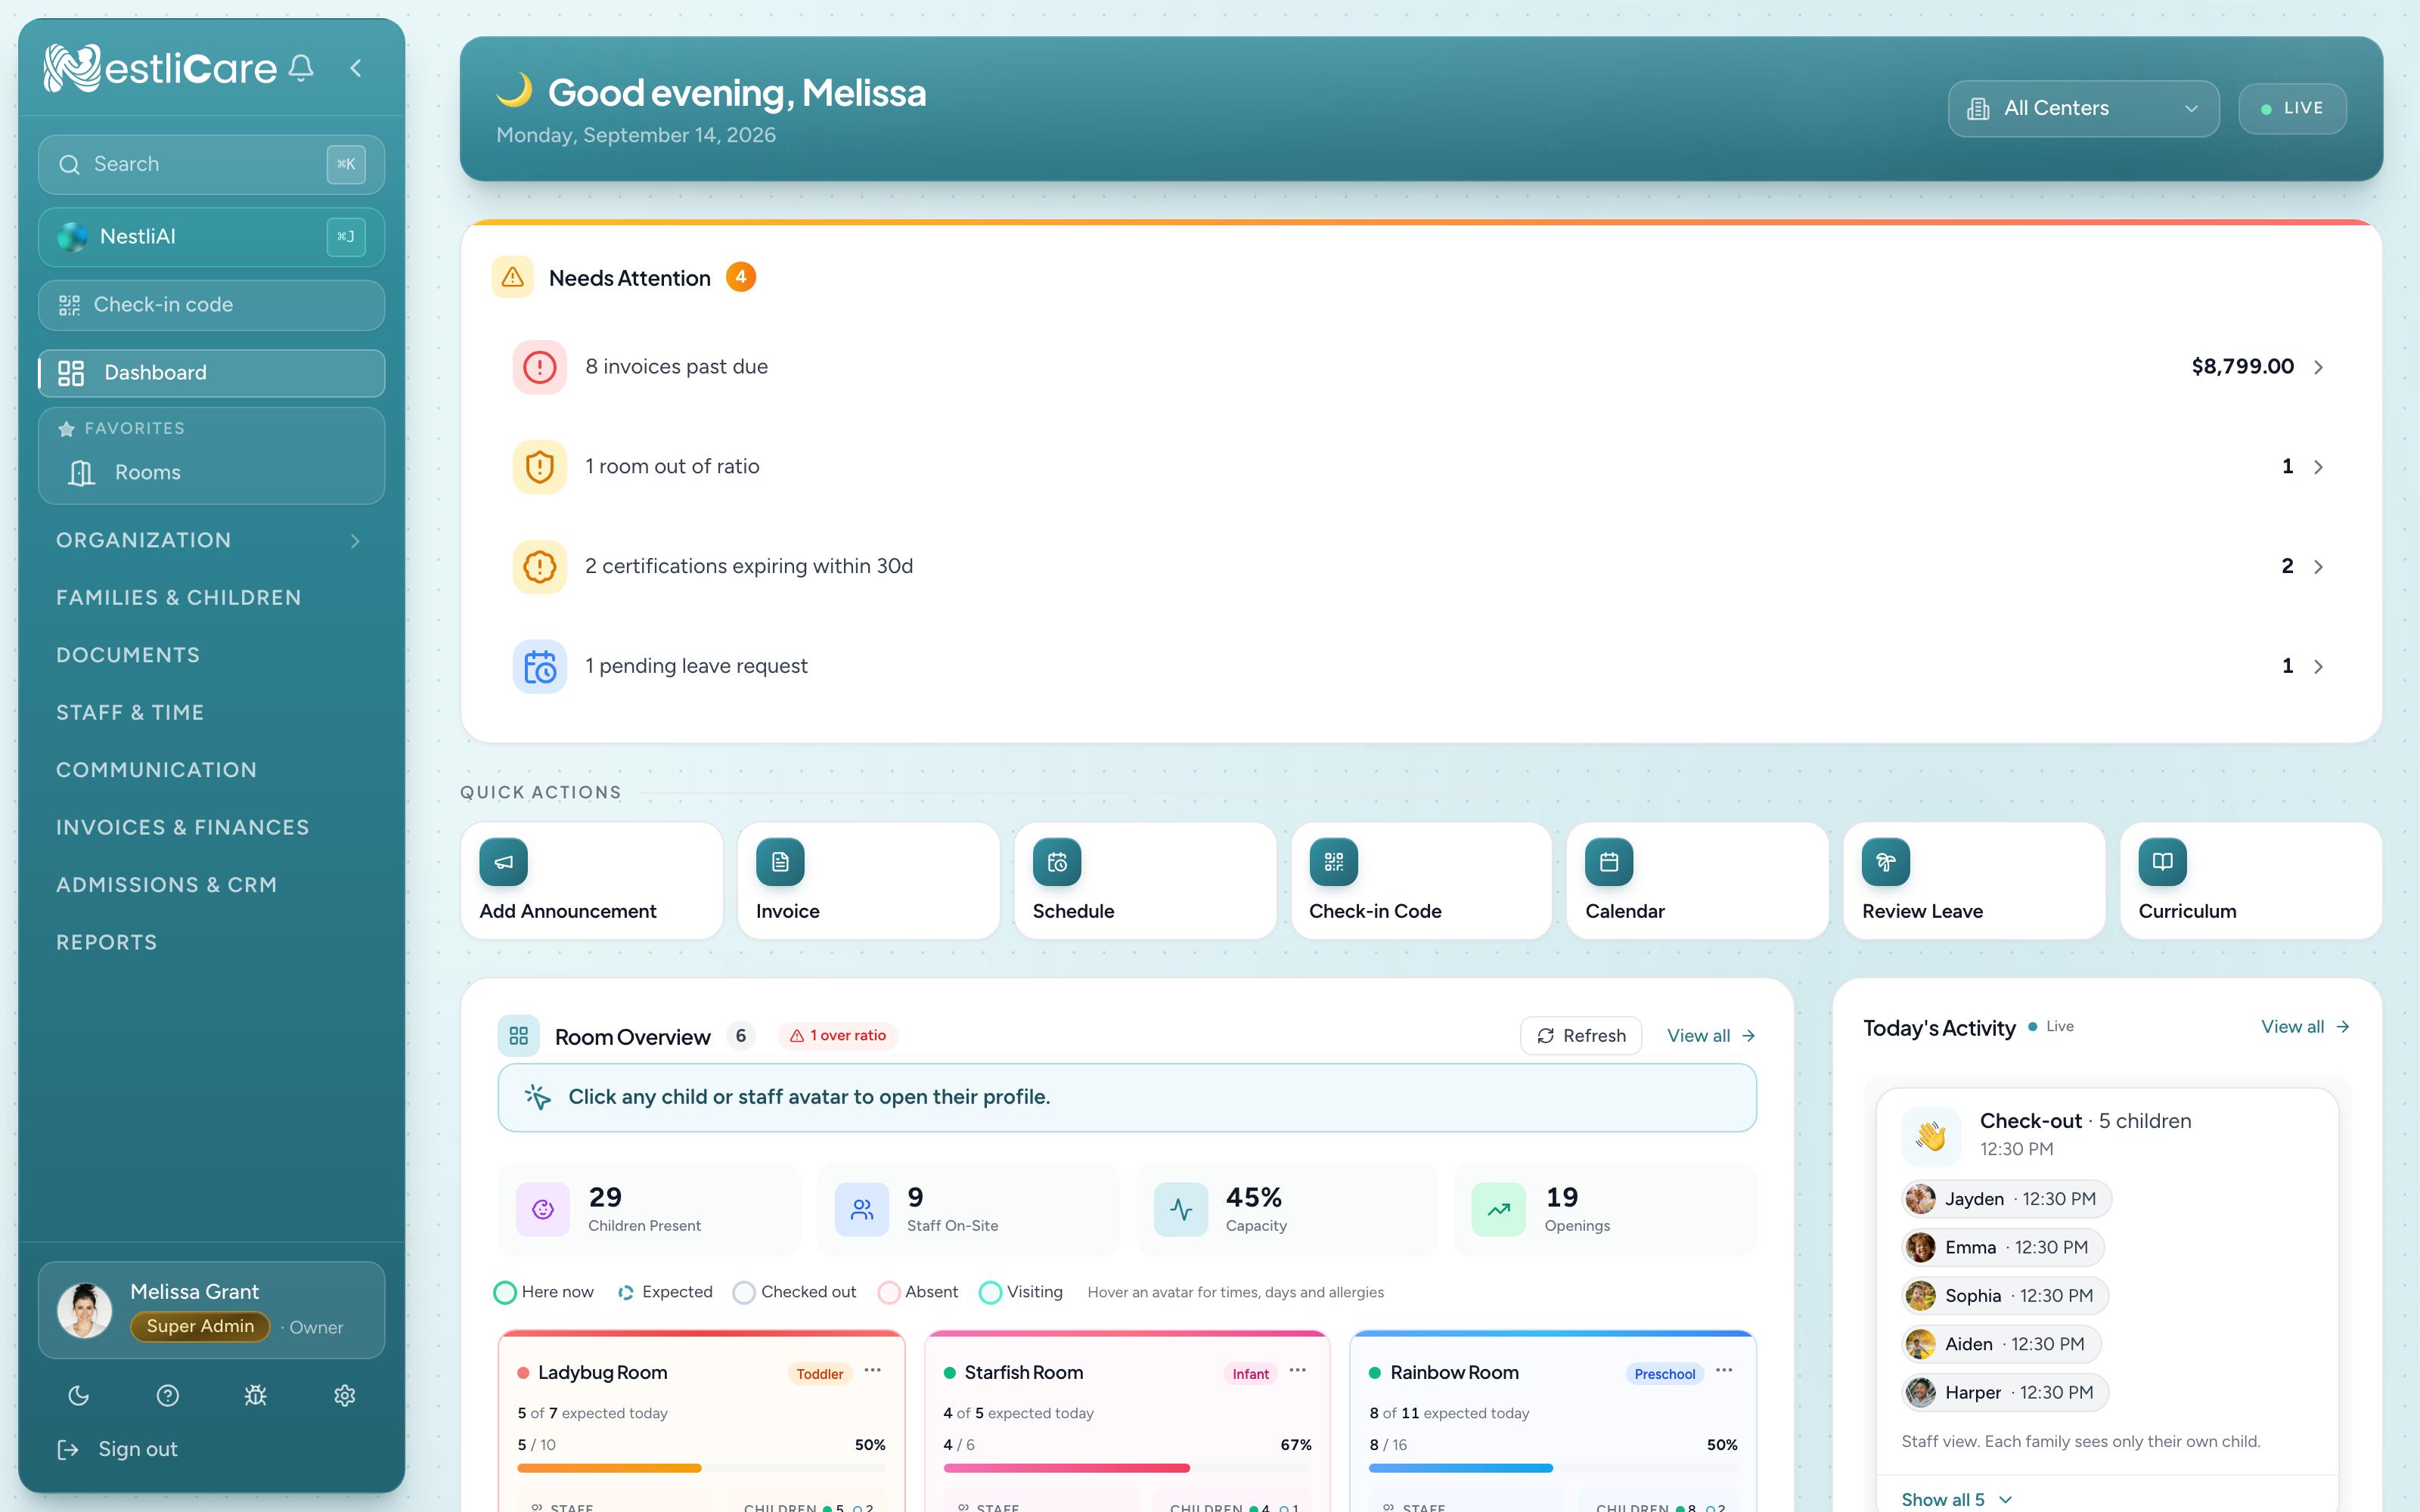
Working top to bottom:
- The greeting bar shows today's date, a center switcher (if you run more than one location), and a LIVE badge that means the numbers update in real time.
- Needs Attention is your triage list: expiring staff certifications, pending leave requests, overdue invoices. If this section is empty, nothing is on fire.
- Quick Actions are one-click shortcuts to the things you do most, like creating an invoice, adding a family, or posting an announcement. Every one of these also exists somewhere in the sidebar; the shortcuts just save you the trip.
- Room Overview shows every room with the staff and children currently present (the avatar rings), capacity, and open spots.
- Activity Feed streams what teachers are logging right now: photos, meals, naps, check-ins.
The sidebar, section by section
The sidebar is organized around how you think about your daycare, not around software features.
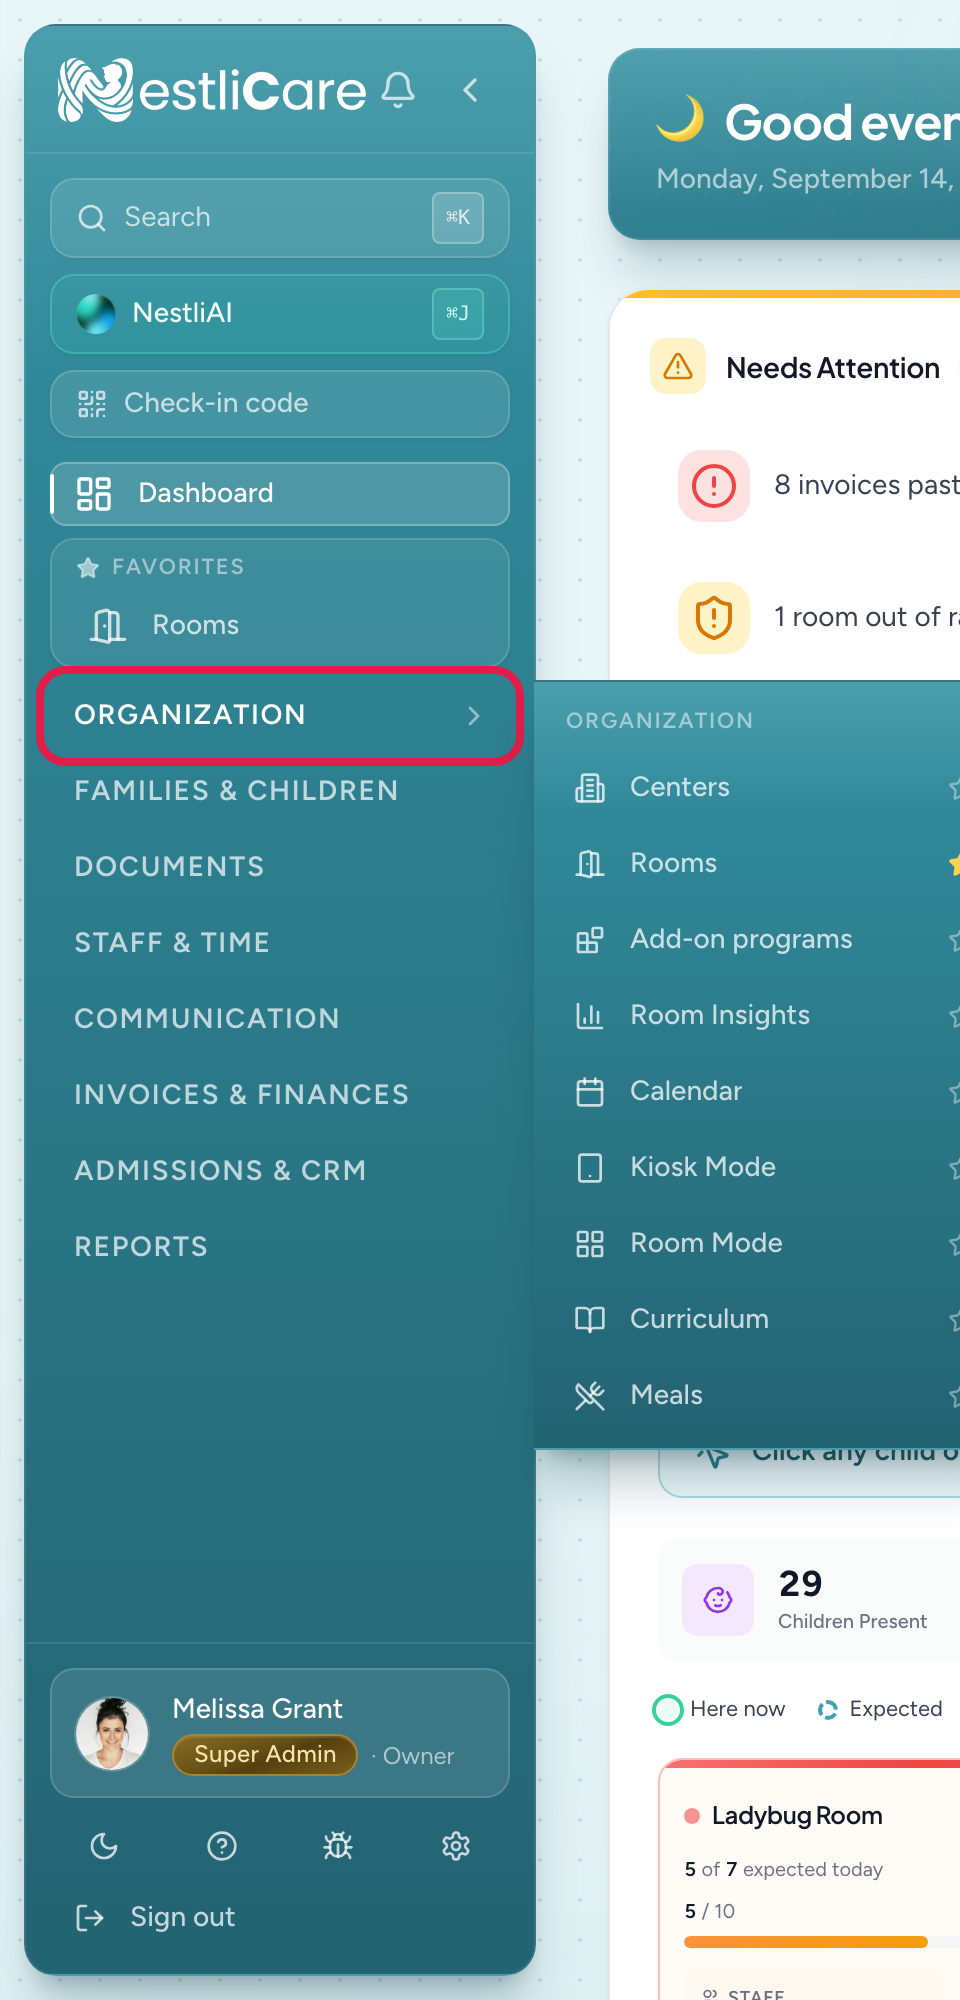
It holds two kinds of rows:
- Pages with tabs. Most rows open a page straight away, and the related screens sit in a tab bar across the top of that page. The selected tab is teal with a rule underneath it. Click Families & Children, for example, and you land on Families, with Children, Enrollment, Attendance, Health, and Incidents one click away in the tab bar. When this help center writes a path like Families & Children → Attendance, that means "click the sidebar row, then the tab".
- A group with a flyout. One row, Organization, holds a list of pages instead of tabs. Hover or click it and a flyout shows what's inside. It's the only row with a chevron, which is how you tell the two apart.
Some tabs have a second row of their own inside them, shown as rounded pills rather than underlined tabs. Two shapes, two levels: the underline picks the page you're on, the pills switch the view within it. Paths in this help center name each step, so Staff & Time → Staff → Training means sidebar row, tab, then pill.

Dashboard sits at the very top, and just under it is the Favorites panel. Star a tab using the star at its right edge and it pins itself to Favorites, so the three screens you open every morning stay within reach at the top of the sidebar.
What you see depends on your role. Where an owner sees Families & Children, a parent sees My Family; a teacher sees My Schedule, Timesheets, and My Pay on the Staff & Time row. Same pages, fewer of them.
If you had a page bookmarked, that link still works. This layout changed the names and the click path, not the web addresses.
Organization
The first row, and the one row that opens a flyout instead of a page. It leads because setup comes before the daily work.
It holds your physical setup: Centers (locations), Rooms (classrooms), Add-on programs (extras like after-school care), Room Insights (occupancy and ratios per room), the shared Calendar, and two special screens for check-in: Kiosk Mode (a sign-in station for a tablet at the front door) and Room Mode (a classroom tablet for teachers). Curriculum for lesson planning and Meals for menus and meal logging (including CACFP reporting) live here too, since both describe what a room runs through the day. Go here when you're setting up, adding a classroom, or putting a check-in tablet at the door.
Families & Children
Your enrollment roster, and the records that hang off a child. Families is the master list of households, parents, and children, and it's where you'll spend the most time day to day. Children is the same data viewed kid-first. Enrollment handles enrollment and the paperwork that comes with it for incoming families. Attendance is the check-in and check-out record. Health is the child health record, with Immunizations and Health Checks as pills inside it. Incidents is where accident and injury reports live, with parent signatures — it sits with the child records it's about rather than with the tools that announce it.
Paperwork
Forms and files, in three tabs. Document Requests sends forms and papers for parents to sign or acknowledge, and tracks what's come back. Child Files is where each child's own documents are stored, and Staff Documents is the same thing for your team. Parents see this row as Documents, with only their own paperwork in it.
Staff & Time
Your team and everything on the clock, in one row, because the pieces feed each other: the schedule makes the punches, the punches plus leave make the timesheets, and the timesheets make payroll.
Staff is the roster of people and their roles. Inside it, two pills hold the records you only open when something changes: Training tracks certifications and warns you before they expire, and Inductions covers onboarding. Schedule is shift scheduling, Timesheets is hours worked, Leave is time off requests, and Payroll covers pay runs if you enable it.
Teachers see a trimmed version of this row: My Schedule, Timesheets, and My Pay. Staff paperwork is not here; it's under Paperwork, alongside child files.
Communication
Almost everything parents see in their app comes from here. Messages leads, because it's what most people open the section for, and it's where the sidebar row lands you. The Feed is the stream of photos and activities teachers post. Announcements go to everyone and Newsletters are formatted emails. Messageboard is the odd one out: it's your internal staff board, and parents never see it.
Rule of thumb: if a parent asks "where do I see that?", the answer usually starts in Communication. Two exceptions: forms and signatures are under Paperwork, and incident reports are under Families & Children.
Billing & Payments
The money. Invoices is what's been billed and paid, Billing holds your tuition plans, and Finances is your money overview. Parents get this row too, with just Invoices and Payments.
Admissions & CRM
Prospective families, from first contact to enrolled. Pipeline is the lead tracker, Waitlist is who's waiting for a spot, Forecast projects your enrollment, Enroll Page is your public enrollment form, Packets are the enrollment packets you send families, and Automations send the follow-ups for you.
Reports
Reports is the report library: attendance, ratios, billing, and everything you need for licensing visits. Daily Summary is the rollup of a single day.
The bottom of the sidebar
A utility row: your profile, dark mode, help (this site), report a bug, organization Settings (the gear), and sign out. Settings is worth a visit in your first week: it controls check-in methods, notification defaults, feature toggles, and your organization profile.
"I want to..." quick reference
| I want to... | Go to |
|---|---|
| Add a family and their children | Families & Children → Families → Add Family |
| Check children in or out | Families & Children → Attendance, or a kiosk tablet |
| Invite a teacher | Staff & Time → Staff → Add Staff |
| Set up tuition and billing | Billing & Payments → Billing, then set up billing |
| Send an invoice | Billing & Payments → Invoices → Create Invoice |
| Message a parent | Communication → Messages |
| Post a photo or activity | Teachers do this from the mobile app; you'll see it in Communication → Feed |
| Send a form for a parent to sign | Paperwork → Document Requests |
| Approve time off | Staff & Time → Leave |
| Follow up with a prospective family | Admissions & CRM → Pipeline |
| Report an incident | Families & Children → Incidents |
| Record an immunization | Families & Children → Health |
| Plan next week's lessons | Organization → Curriculum |
| Put a sign-in tablet at the front door | Organization → Kiosk Mode |
| Pull a report for licensing | Reports |
Your very first login looks emptier
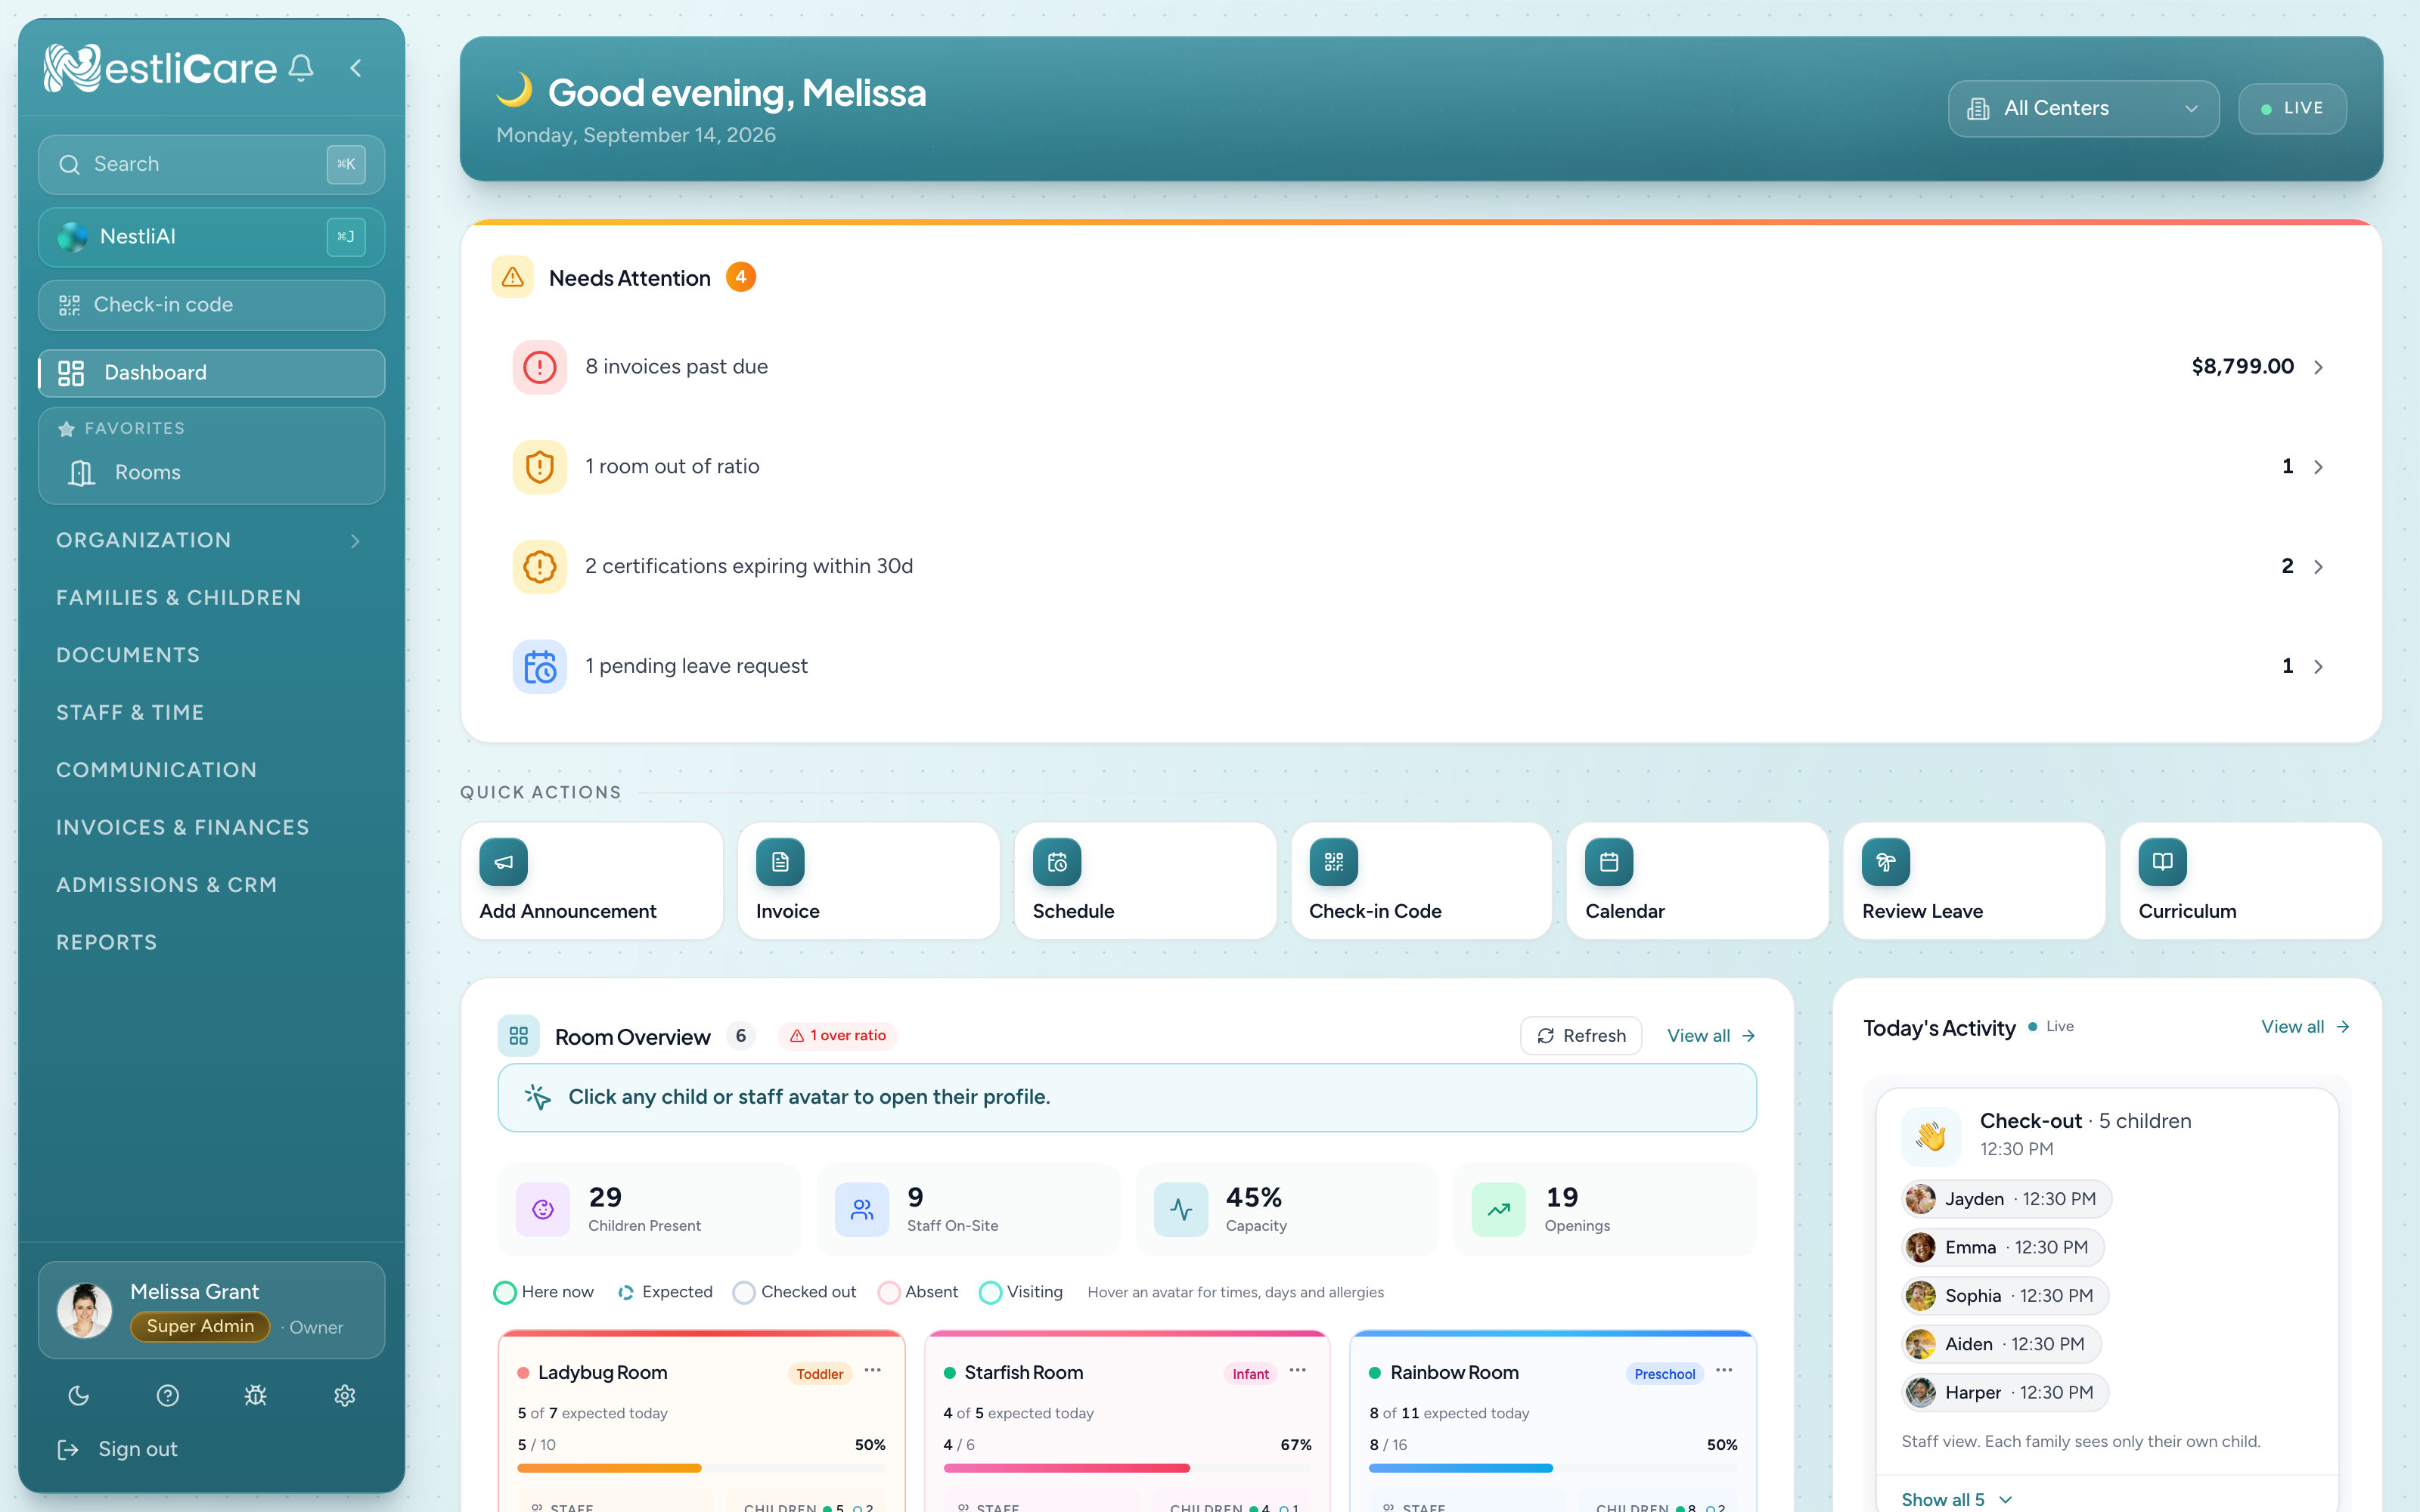
The screenshots above show a daycare in full swing. On day one, yours will be quieter: zero children present and one starter room. Signing up already created your center and your first room (Room 1, with your capacity set), so there's nothing to build before you can add people.
What to do next
If your daycare is brand new on NestliCare, follow Your first week. It walks the setup in the right order: organization profile, rooms, staff, families, then billing.
If you were invited to an existing daycare, the owners and admins collection has a guide for every feature you just read about.